

Welcome to OptiGuide in Claude Desktop
OptiGuide connects Claude to your 3DOptix workspace via MCP, so you can ask Claude to create, open, and modify optical simulation setups, manage components (sources, optics, detectors), run simulations, and review results, using the same capabilities available through the 3DOptix API.
MCP (Model Context Protocol) is an open protocol that enables an AI app to securely connect to external tools and data sources via an MCP server.
OptiGuide is 3Doptix’s MCP integration. With OptiGuide enabled, Claude can use the same capabilities exposed by the 3Doptix API / SDK, such as:
Working with simulation setups (create, list, open).
Adding and editing components such as optics, detectors, and light sources.
Changing positions/poses, running simulations (e.g., ray tracing), and reviewing results.
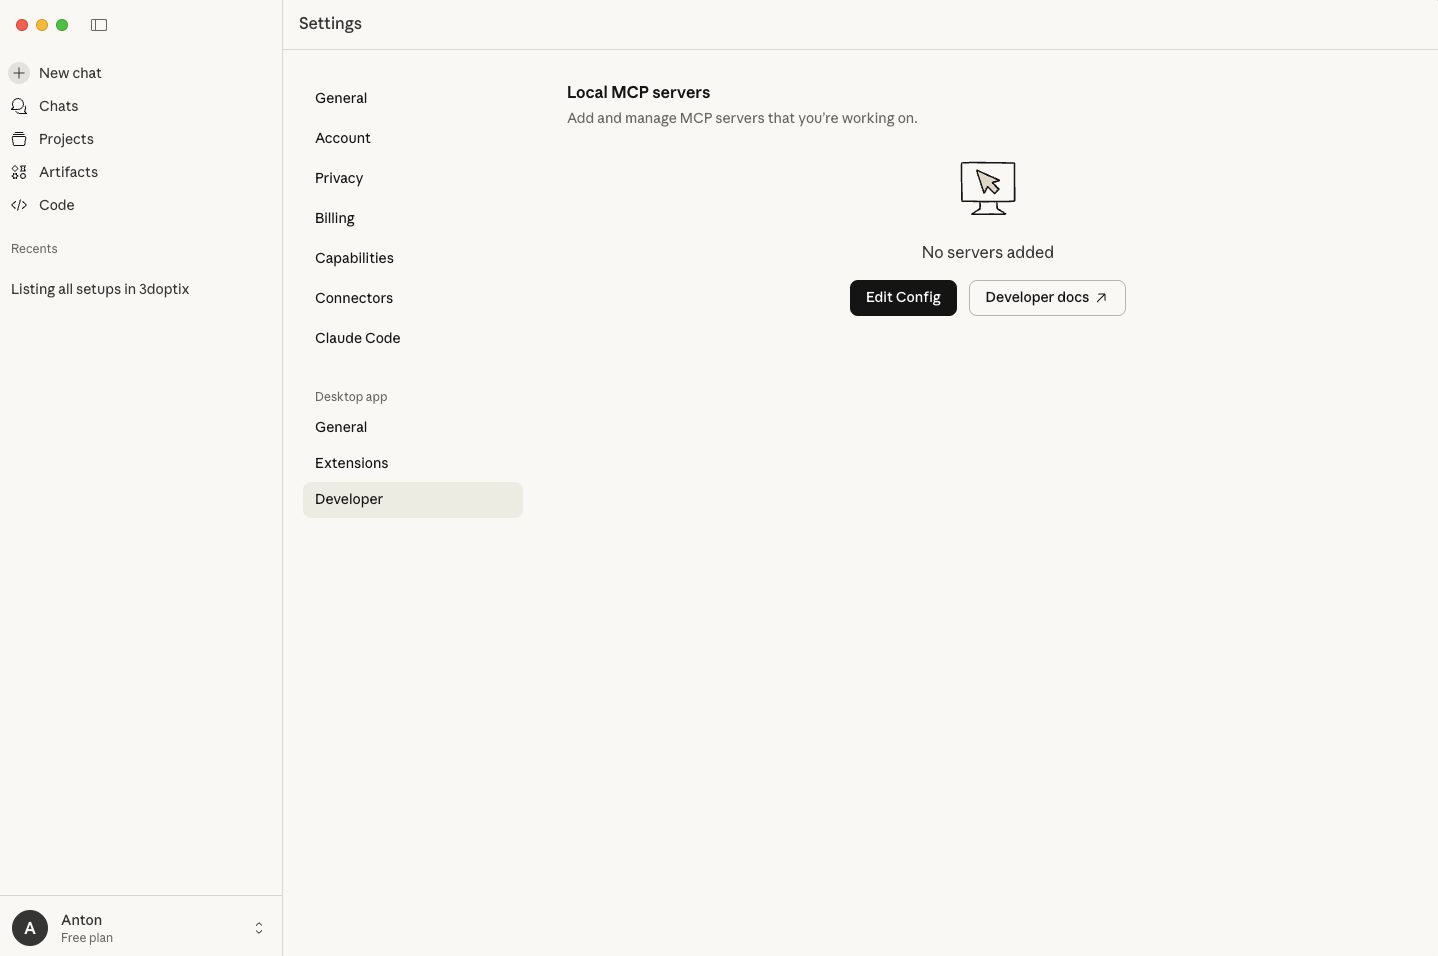
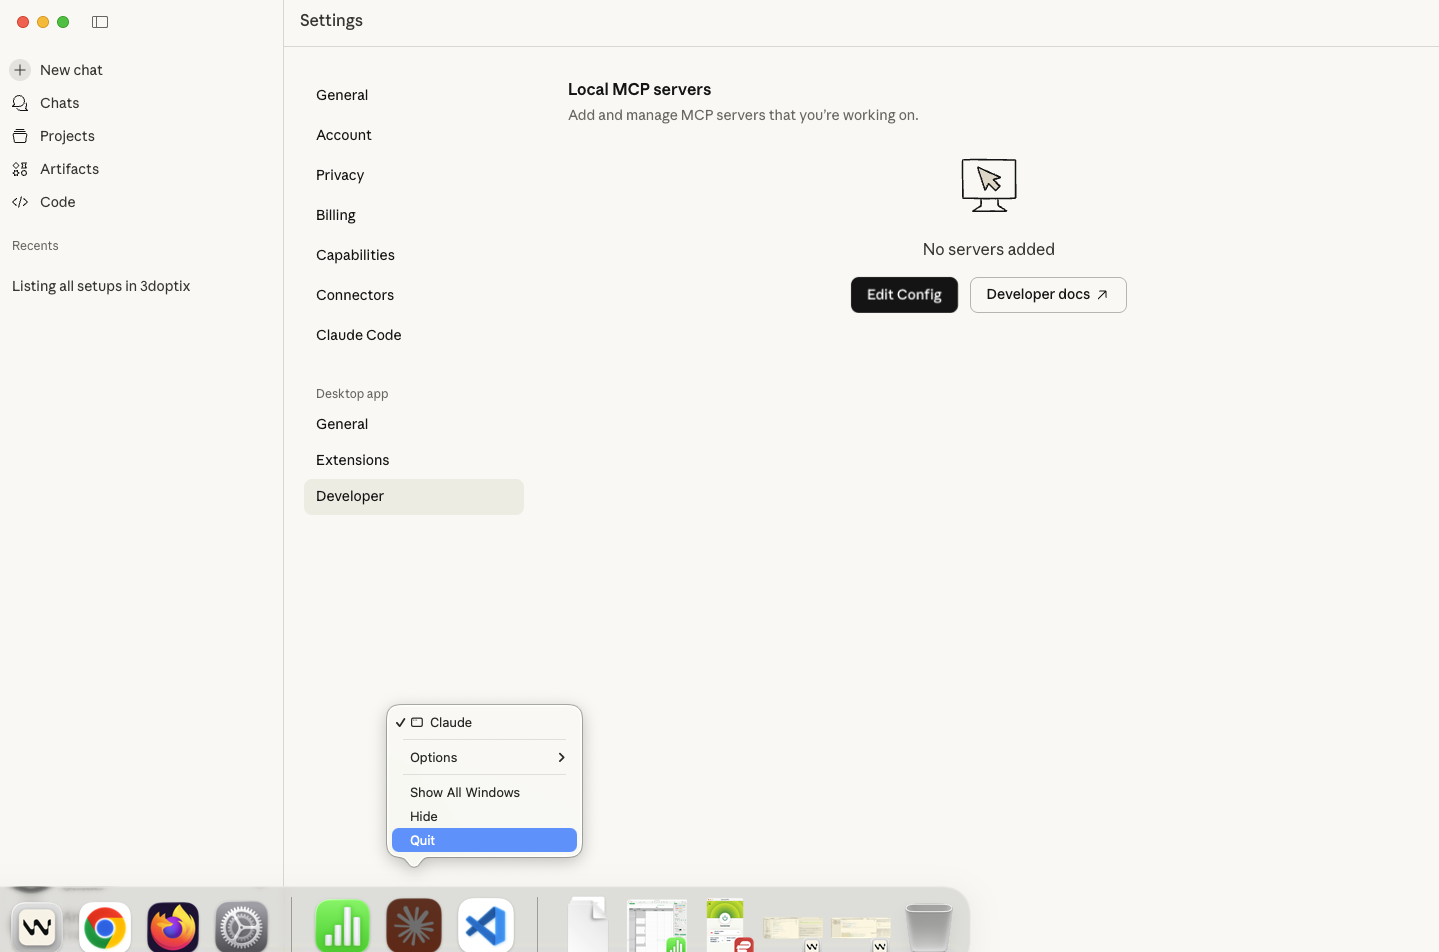
Claude Desktop is the installed application that supports configuring MCP servers locally; this differs from using Claude in a browser, as the Desktop app is where OptiGuide/MCP is configured and managed.
Use the official Claude Desktop installer for macOS or Windows.
OptiGuide is launched through npx (Node’s package runner). Installing Node.js also installs npm/npx in standard setups. While Claude Desktop ships with an embedded version of Node, we noticed that it is often not enough for running OptiGuide.
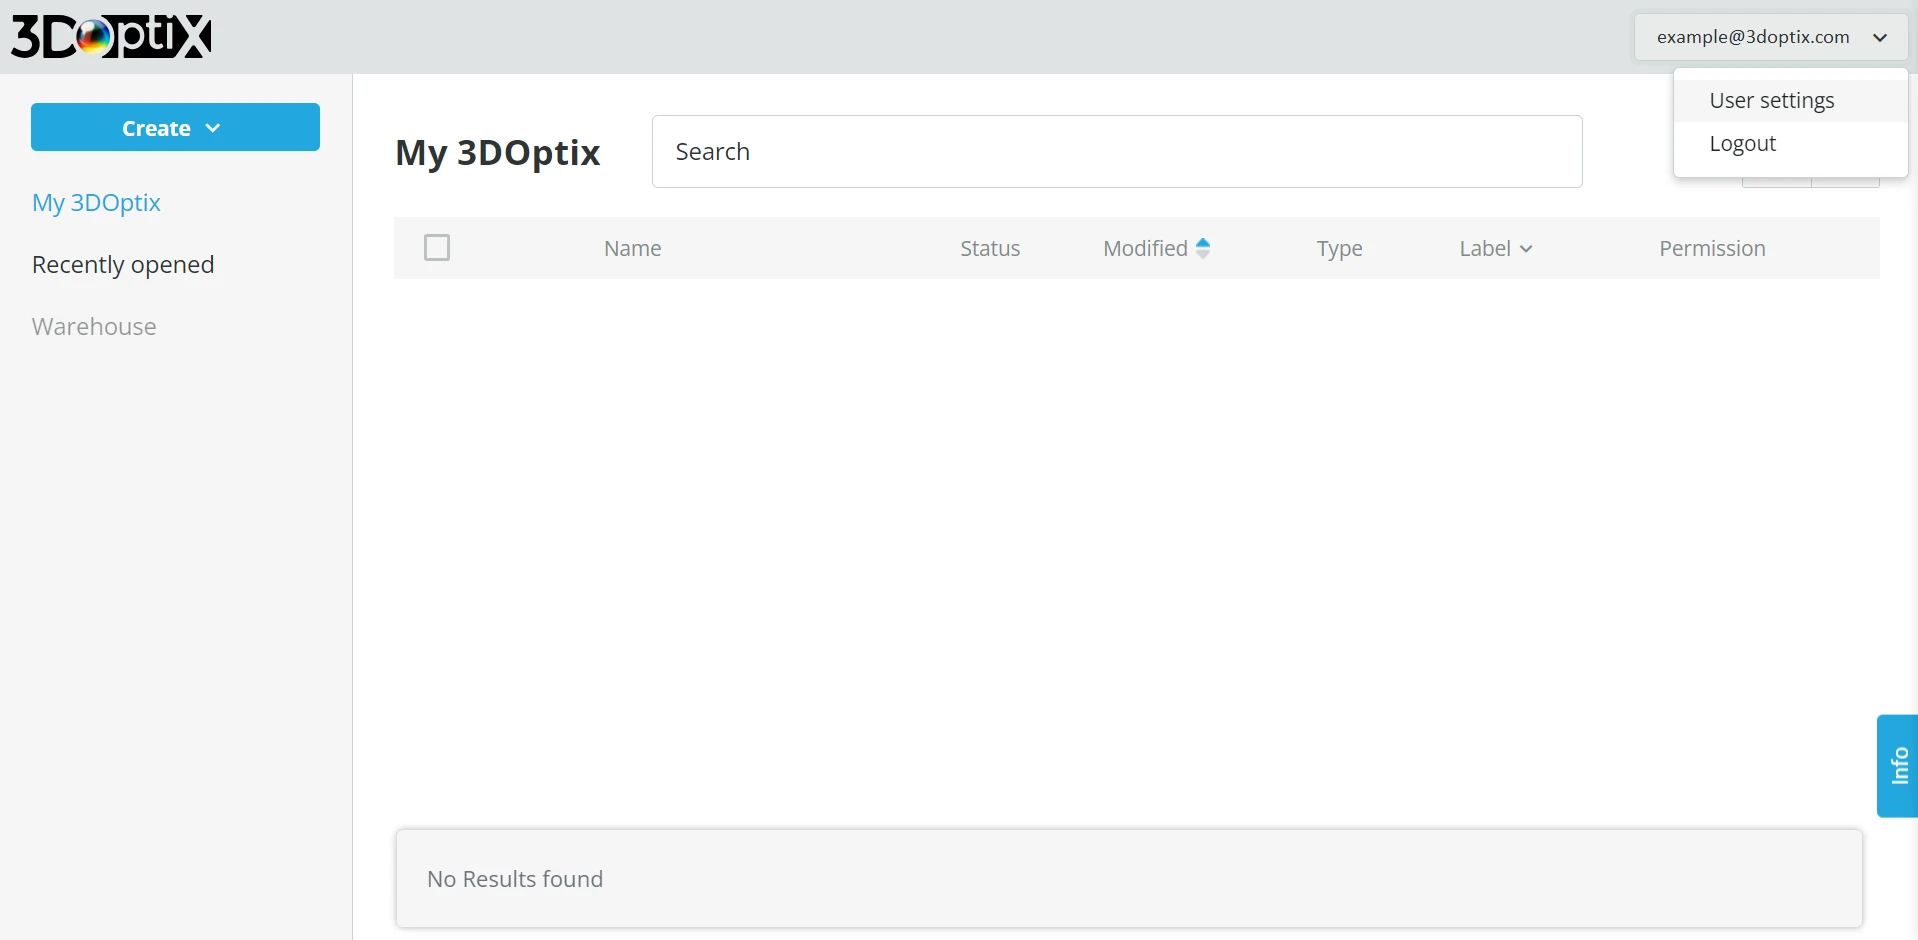
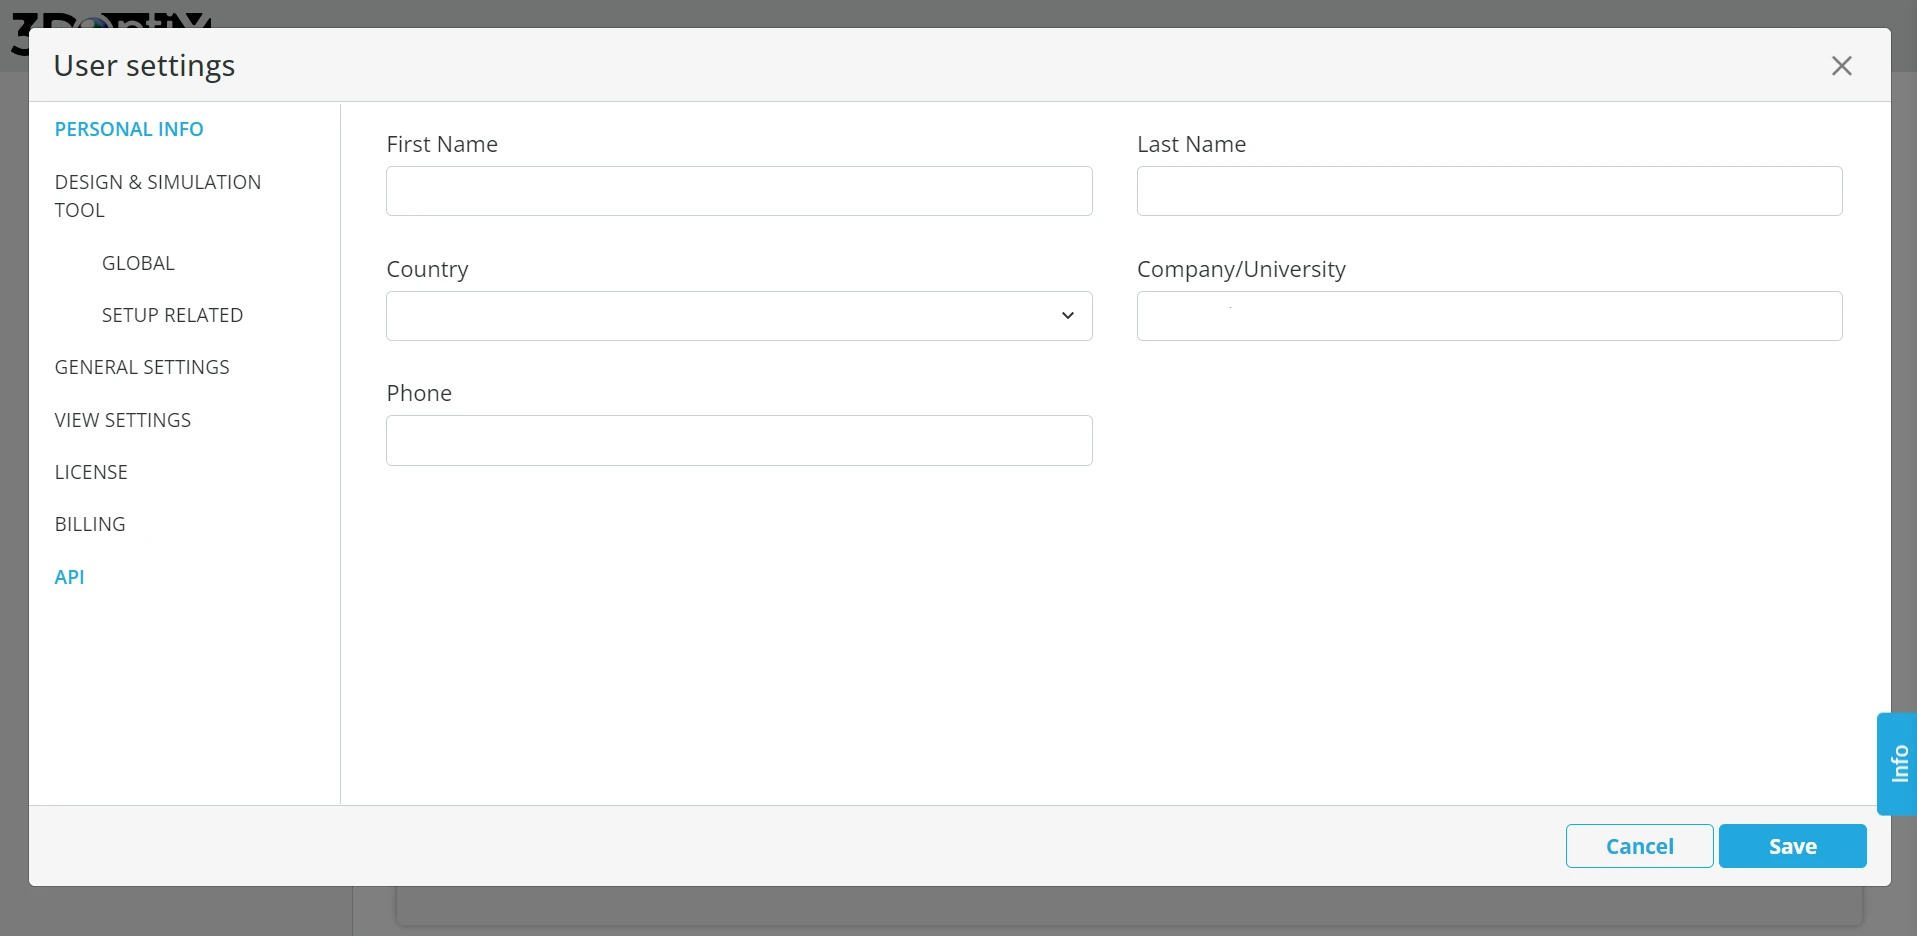
In the 3doptix UI (User settings → API):
Click your email (top-right) → User settings
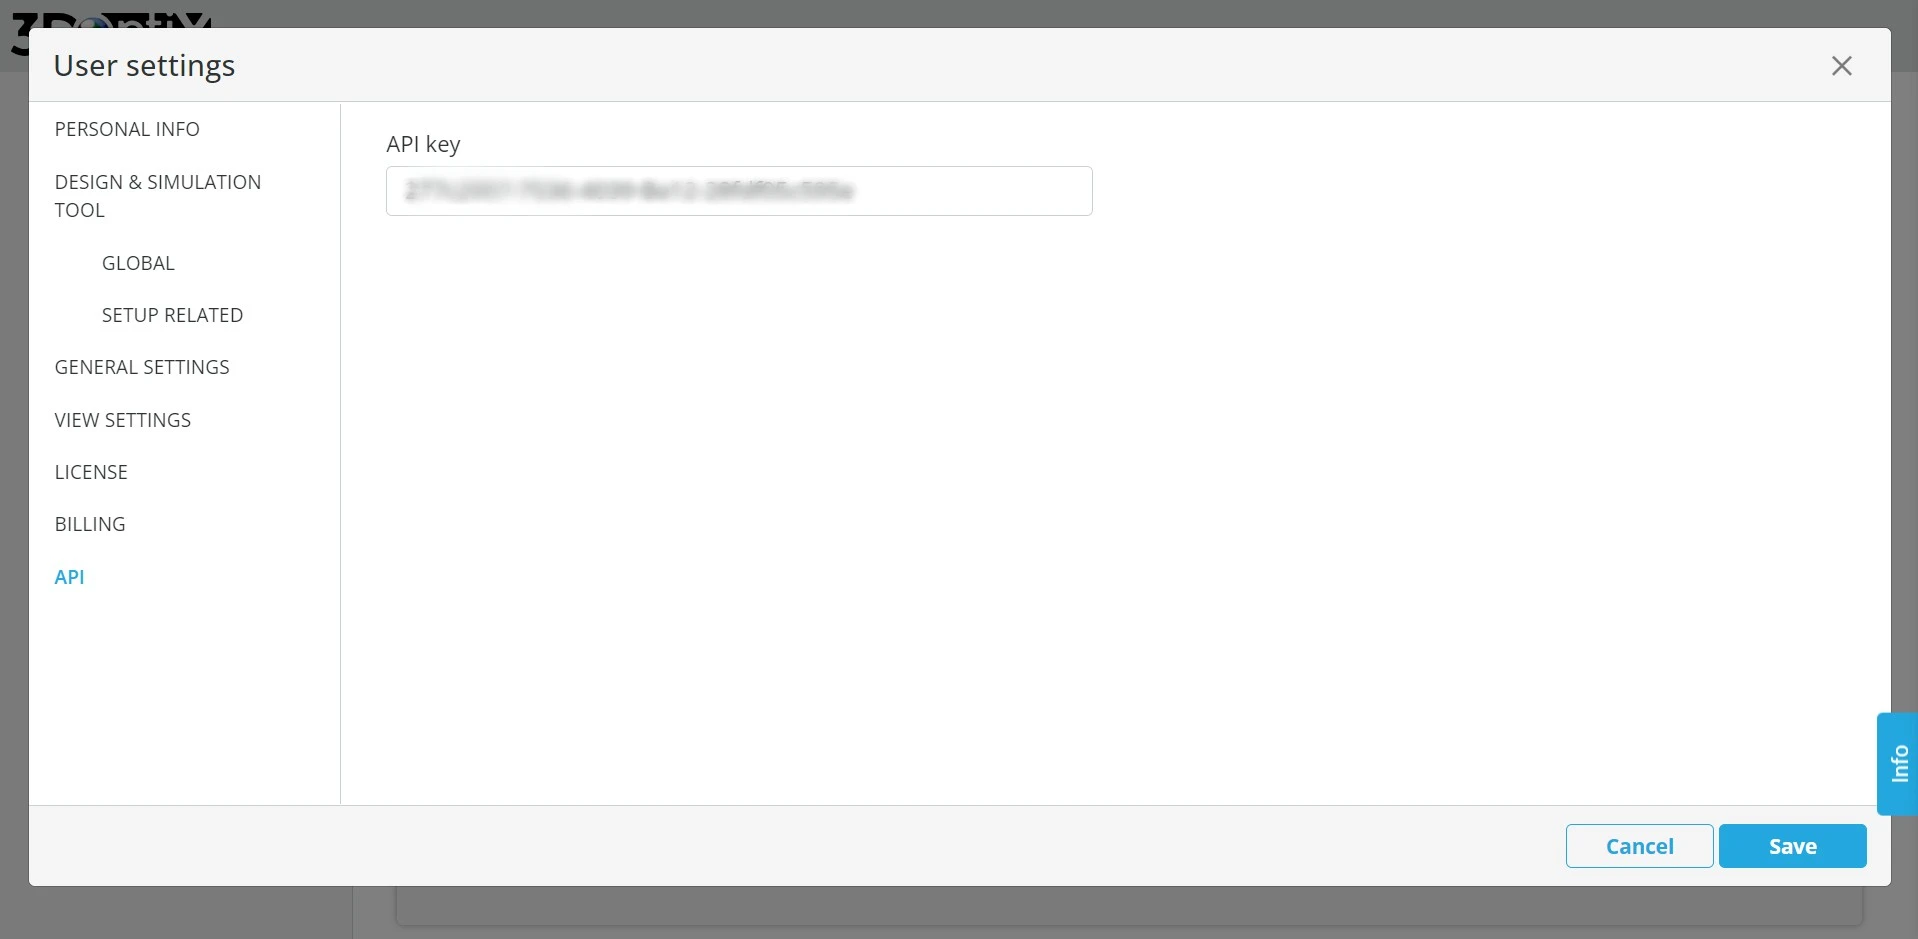
Scroll to the bottom → API
Copy your API key
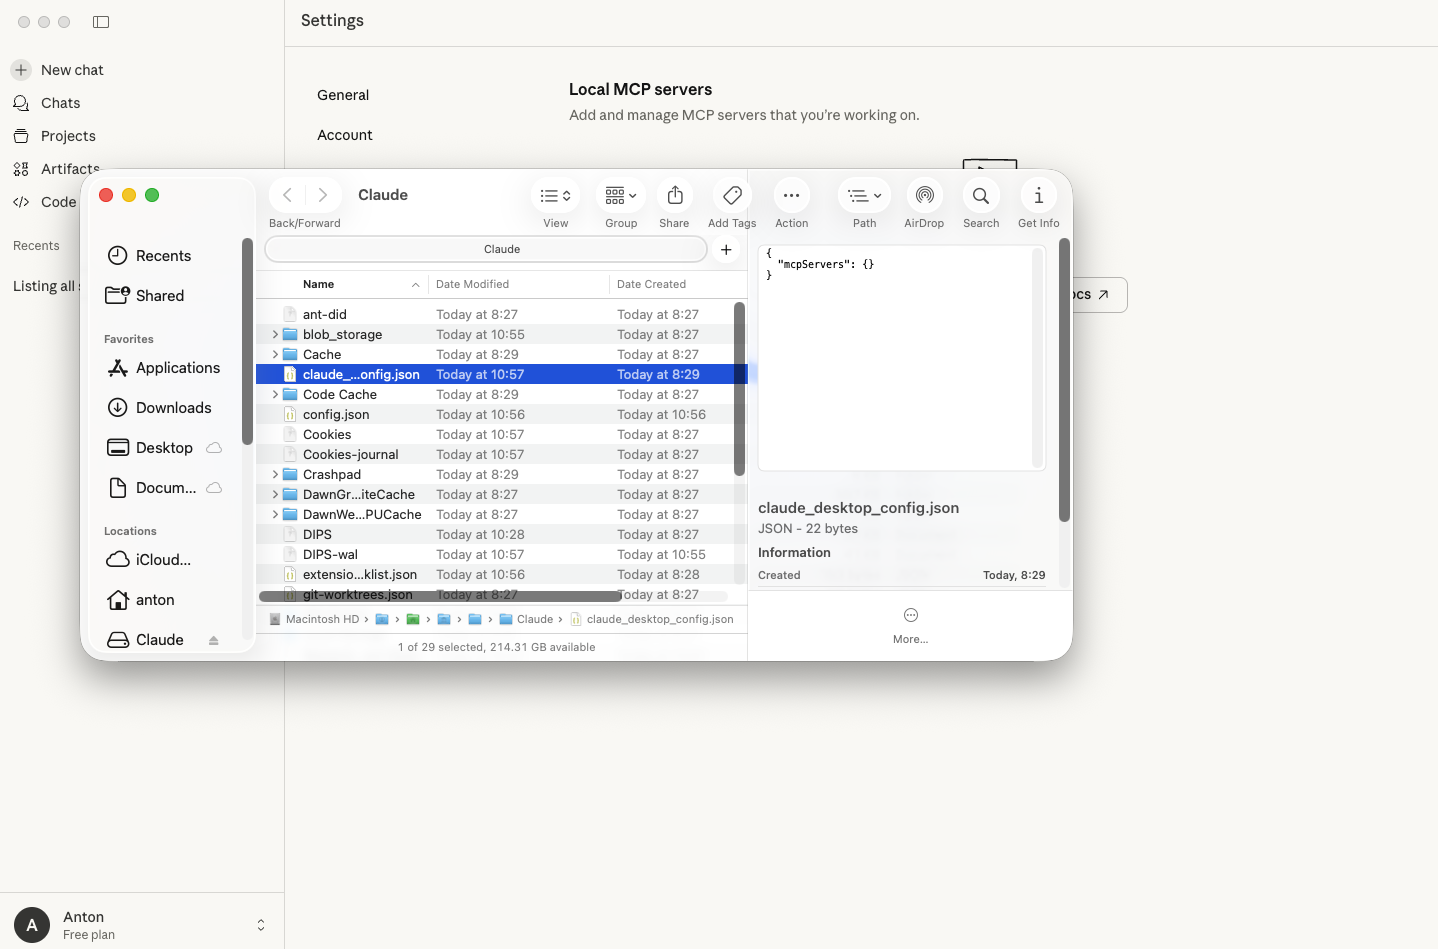
claude_desktop_config.jsonYOUR_API_KEY_HERE with your real 3doptix API keyclaude_desktop_config.json must contain a single top-level JSON object. If your file already has content (e.g., "preferences"), merge the "mcpServers" block into the existing { ... } instead of pasting this as a second separate { ... } block (two root objects will cause a config error).
					{
  "mcpServers": {
    "OptiGuide": {
      "command": "npx",
      "args": [
        "-y",
        "mcp-remote",
        "https://mcp.3doptix.com/?api-key=YOUR_API_KEY_HERE"
      ]
    }
  }
}
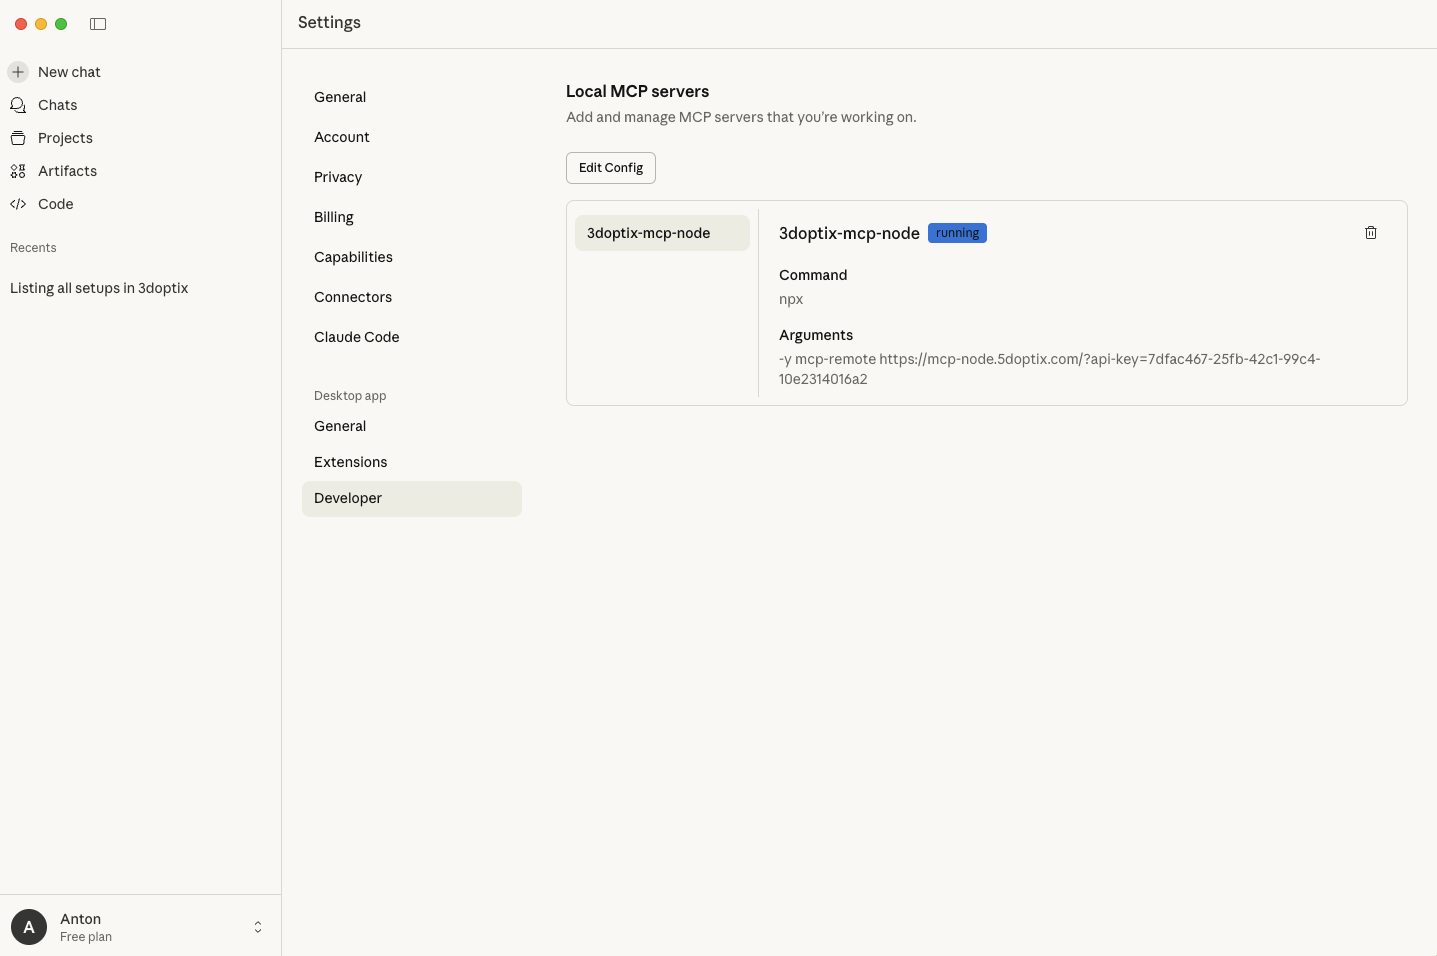
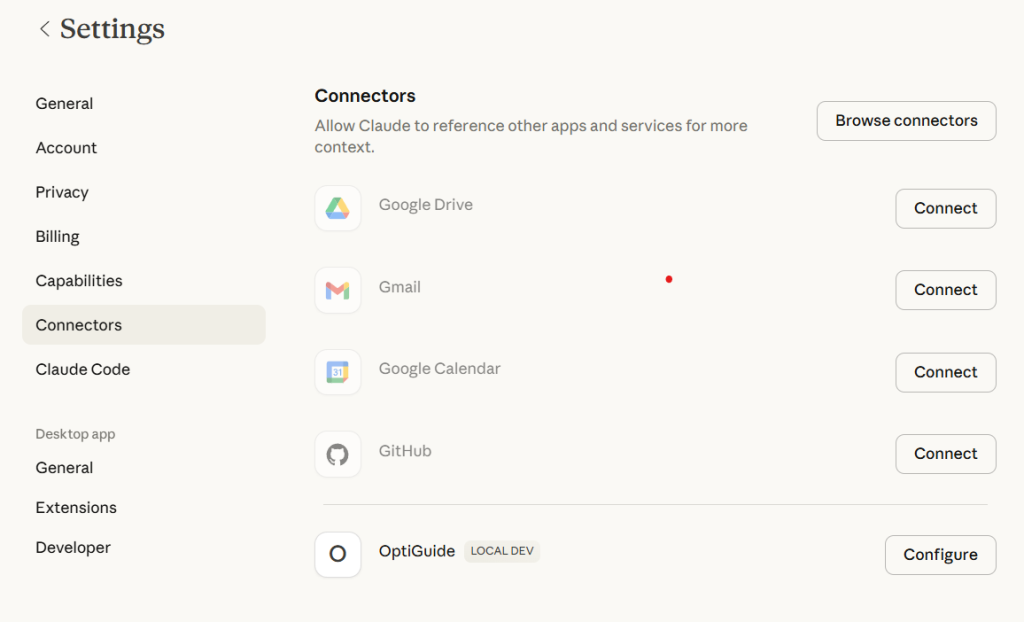
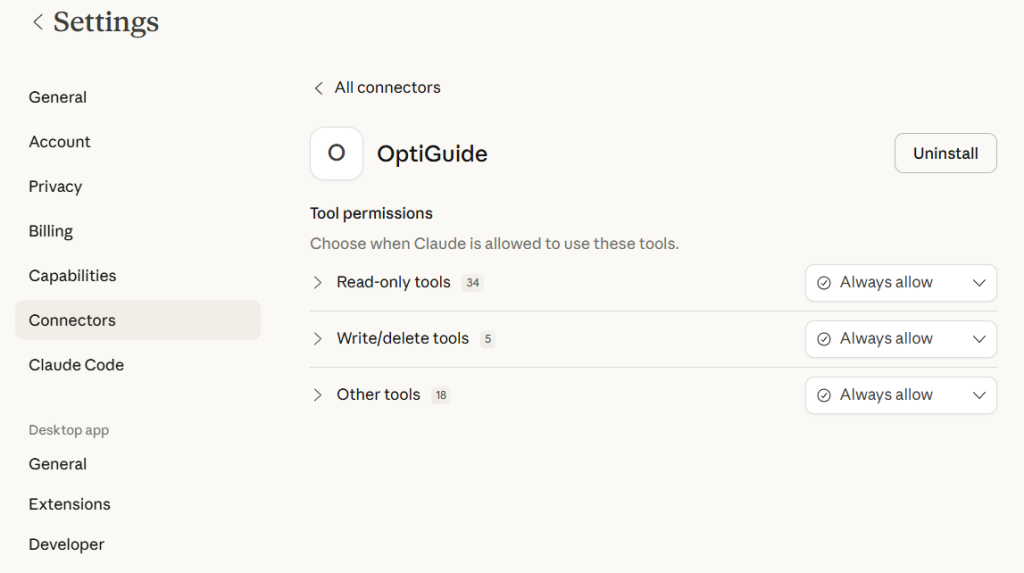
After restart, go to Settings → Connectors, open OptiGuide, and set tool permissions.
You can choose:
Both are valid—pick what fits your internal policy and comfort level.
To avoid unexpected behavior, don’t edit the same OptiGuide setup in multiple places at the same time
(for example, don’t open it on 3doptix website while changing it with the AI agent).
Pick one place to manage the configuration and keep it consistent.
For previews, OptiGuide can generate a widget/preview link. Open that link in your browser to reviewthe
results.
OptiGuide is powered by our MCP server and can also be connected to other AI agents that support MCP.
If you’d like to integrate OptiGuide with another tool or workflow, contact us, and we’ll do our best to help.
If you run into any issues during setup or use, contact us, and we’ll be happy to help.
Product
Resources
Comparison
Company
